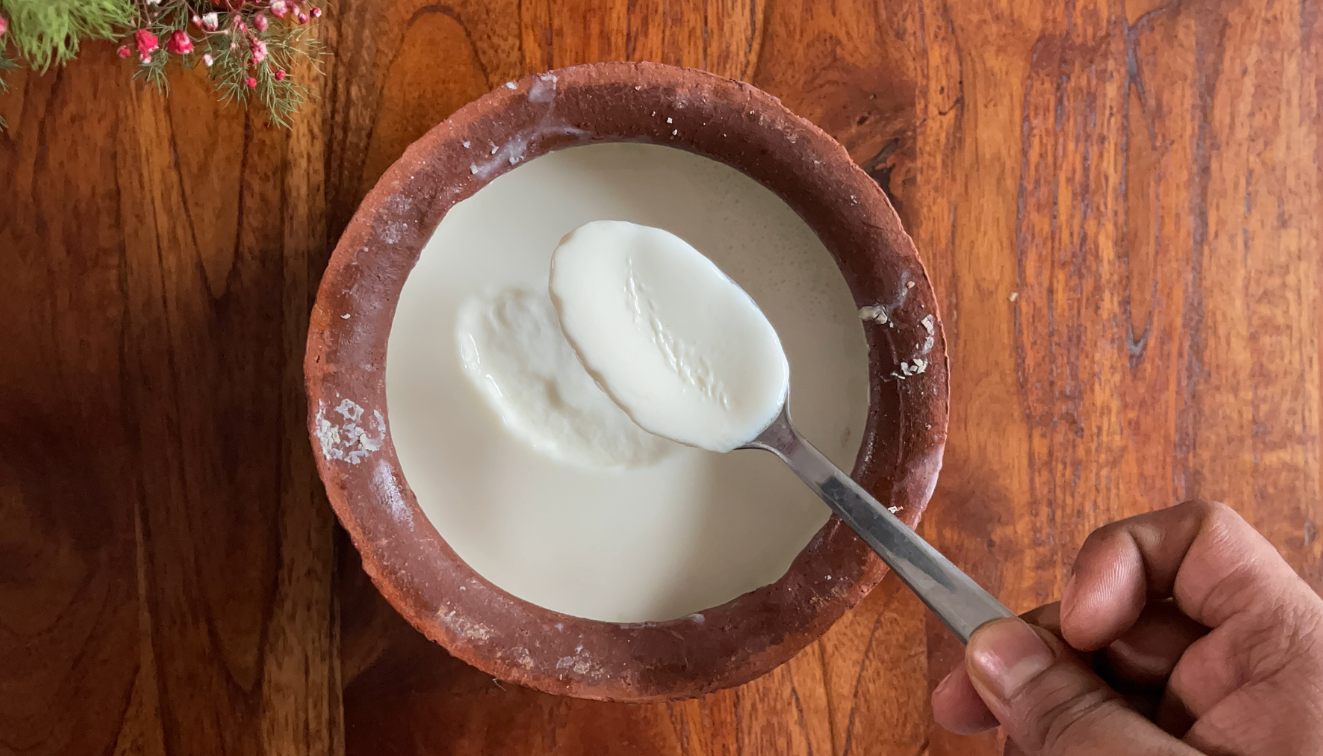
Curd, also known as yoghurt in some cultures, dates back to ancient times. It is believed to have been discovered accidentally by Neolithic people around 10,000 BCE when milk stored in animal stomachs curdled due to natural enzymes. Evidence of curd and fermented milk products has been found in early Neolithic sites across Asia, Europe, and the Middle East.
The 19th century saw the industrialisation of dairy production, making curd and other dairy products more widely available. In the early 20th century, Nobel laureate Élie Metchnikoff popularised the health benefits of fermented milk, spurring the commercial production of yoghurt.
What you will need:
| Ingredient | Measure |
| Whole full fat milk | 500 ml |
| Starter Culture | 1-2 tbsp |
Traditionally,
In India, curds are set in earthen pots. Earthen pots have tiny pores that allow air and moisture to pass through, keeping the contents cooler. The porous nature of earthen pots also helps absorb excess whey, resulting in thicker and creamier curd.
Time Required
Preparation time: 15 minutes
Setting time: 4-6 hours
Nutritional Value (100g)
Calories: 61 kcal
Protein: 3.5 grams
Fat: 3.3 grams
Carbohydrates: 4.7 grams
Equipments:
- Measuring cups and spoons
- Large bowl
- Food thermometer
- Whisk
- Earthen pot
Instructions:
Heat the Milk:
- Pour the milk into the saucepan and heat it over medium heat. Stir occasionally to prevent skin from forming and ensure even heating.
- Heat the milk until it reaches 85°C (185°F). Use a thermometer to monitor the temperature. This step is crucial as it denatures the proteins, which is essential for yogurt/curd consistency.
Cool the Milk:
- Remove the saucepan from heat and let the milk cool to 43°C (110°F). This is the optimal temperature for the starter cultures to thrive.
- Speed up the cooling process by placing the saucepan in a cold water bath.
Inoculate the Milk:
- Add the starter culture to the cooled milk.
- Whisk thoroughly to ensure the starter culture is evenly distributed.
Incubate the Yogurt/Curd:
- Pour the mixture into the earthen pot. Cover it with a lid or plastic wrap.
- Place the bowl in a warm environment to maintain the temperature around 43°C (110°F). You can use an oven with the light on, or a warm spot in your kitchen.
- Let it incubate for 4-6 hours. The longer it incubates, the thicker and tangier the yogurt/Curd will become.
Important: Save some of your homemade yogurt to use as a starter for your next batch.
Curd has been an integral part of Indian diets for centuries. In Hindu mythology, it is considered a sacred food, often used in religious ceremonies and offerings. The practice of consuming curd is mentioned in ancient Ayurvedic texts, which extol its health benefits. It is believed to balance the body’s doshas and improve digestion.
In many cultures, curd holds significant traditional and ceremonial value. It is used in religious rituals, festivals, and special occasions. For instance, in Indian culture, curd is considered auspicious and is often consumed before embarking on important tasks for good luck.
My Tips:
- For a creamier yoghurt/curd, use whole milk.
- Sterilize all your equipment before starting to avoid contamination.
- The longer the yoghurt/curd incubates, the tangier it becomes.
- Always use pasteurised milk to avoid any harmful bacteria.
- Trying to set the Yoghurt/curd in an earthen pot, it keep the curd cold and
- Store the curd in clean, airtight containers to prevent spoilage.
- Consume within the recommended storage period for the best taste and quality.
Troubleshooting Guide:
Curd did not set
Ensure the milk was cooled to the correct temperature before adding the starter, and that it was kept at a consistent warm temperature during incubation.
Don’t forget to share your results and tag @bake.hows on instagram
