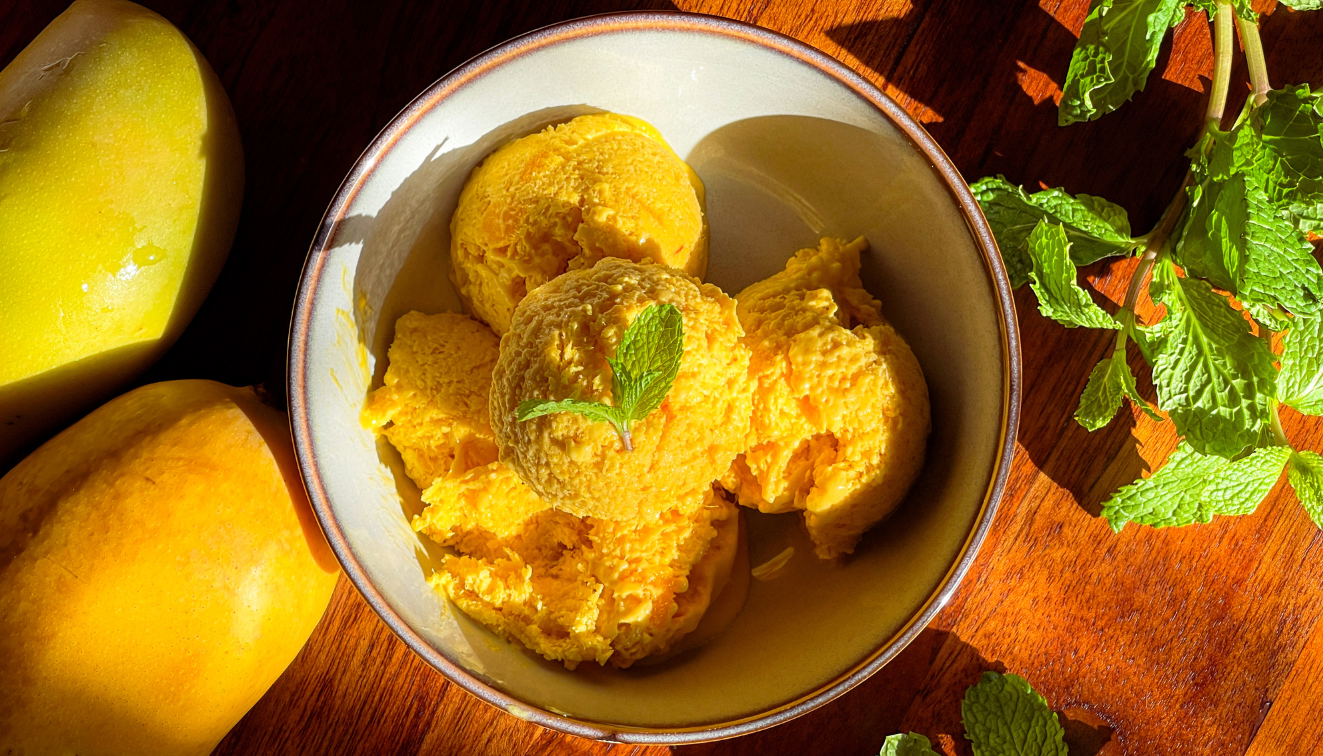
Without ice cream machine
This homemade mango ice cream recipe creates a creamy, smooth, and richly flavoured treat using fresh mangoes and eggs, without the need for an ice cream maker. It’s a perfect way to indulge in the luscious flavour of mangoes, especially during the warm months.
This mango ice cream recipe offers a luxurious way to enjoy mangoes with the creamy texture and rich flavor that homemade ice cream brings. Perfect for cooling down on a hot day or for a special treat!
Ice cream has been adapted into various cultures around the world, each adding its unique twist to the basic concept. From gelato in Italy and kulfi in India to mochi ice cream in Japan, the adaptability of ice cream is evident in its global presence.
What you will need:

| Ingredient | Measure |
| Aamras / Mango purée | 400 g |
| Whole milk | 90 g (1/4 cup) |
| Fresh cream | 90 g |
| Heavy cream | 240 g (1 cup) |
| Egg yolks | 2 |
| Sugar | 80 g |
| Chopped mango | 1 cup |
Time Required
Preparation time : 45 minutes
Baking time : 4 – 8 hours
Estimated Calories and Yield
Calories / 100g : Approx 215-230 kcal
Total yield : 600 – 800 gm
Equipments:
- Blender or food processor
- Mixing bowls
- Whisk
- Saucepan
- Fine mesh sieve
- Freezer-safe container
- Electric mixer (optional)
Instructions:
Preparing the mangoes:
- Prepare traditional aamras (Mango Purée) without sugar following this recipe.
- Also chop some mangoes in small cubes and keep aside for later.
Preparing the Custard:
- Combine the milk and fresh cream in a saucepan. Warm over medium heat until the mixture is hot but not boiling.
- In a separate bowl, whisk together the egg yolks and the sugar until smooth.
- Place the bowl in a hot water bath or a double boiler.


- Gradually pour the hot milk-cream mixture into the egg yolks, whisking constantly to temper the eggs.
- Return the mixture to the saucepan and cook over low heat, stirring constantly, until the custard thickens enough to coat the back of a spoon (do not boil).
- Strain the custard through a fine mesh sieve into a bowl.

History Corner
The earliest forms of ice cream can be traced back to ancient civilizations. The Chinese are known to have created frozen desserts as early as 2000 BC using snow mixed with honey and fruit. Ancient Greeks and Romans also enjoyed similar concoctions made with ice and snow brought down from mountains and mixed with fruits and nuts.
By the Renaissance, ice cream was appreciated in the European courts. Recipes for ice cream started appearing in French and English cookbooks from the early 18th century.
Combining everything:
- In a large bowl whip the cream till soft peaks form.
- Now combine the custard into the whipped cream in small batches till all of it is incorporated.
- Combine the mango purée and fold it in carefully.
- At last combine the mango chunks.


Chilling
- Pour the mixture into a freezer-safe container.
- let it chill for at least 2 hours.
- Take out the mixture back into a large bowl and whisk vigorously. This will break the initial ice crystals.
- Pour the ice cream back into the container and let it freeze again for 2-4 hours.
- You can repeat the last step twice if the ice crystal forms again.

Serving suggestions
- Finally, chill the ice cream overnight before serving.
- Serve the mango ice cream in bowls or cones.
- Garnish with fresh mango pieces, mint leaves, or a sprinkle of coconut flakes for a tropical touch.

My Tips:
- Use ripe, sweet mangoes for the best flavour and natural sweetness.
Make sure the custard is cooled completely before mixing with the whipped cream to prevent any curdling. - Whip the heavy cream at a lower temperature for better results.
Troubleshooting Guide:
Icy Texture
If the ice cream is too icy, ensure you whisk it several times during the freezing process to break up ice crystals.
Custard Curdles
If the custard begins to curdle, remove it from heat immediately and whisk vigorously. Strain if necessary to remove any lumps.
Don’t forget to share your results and tag @bake.hows on instagram
