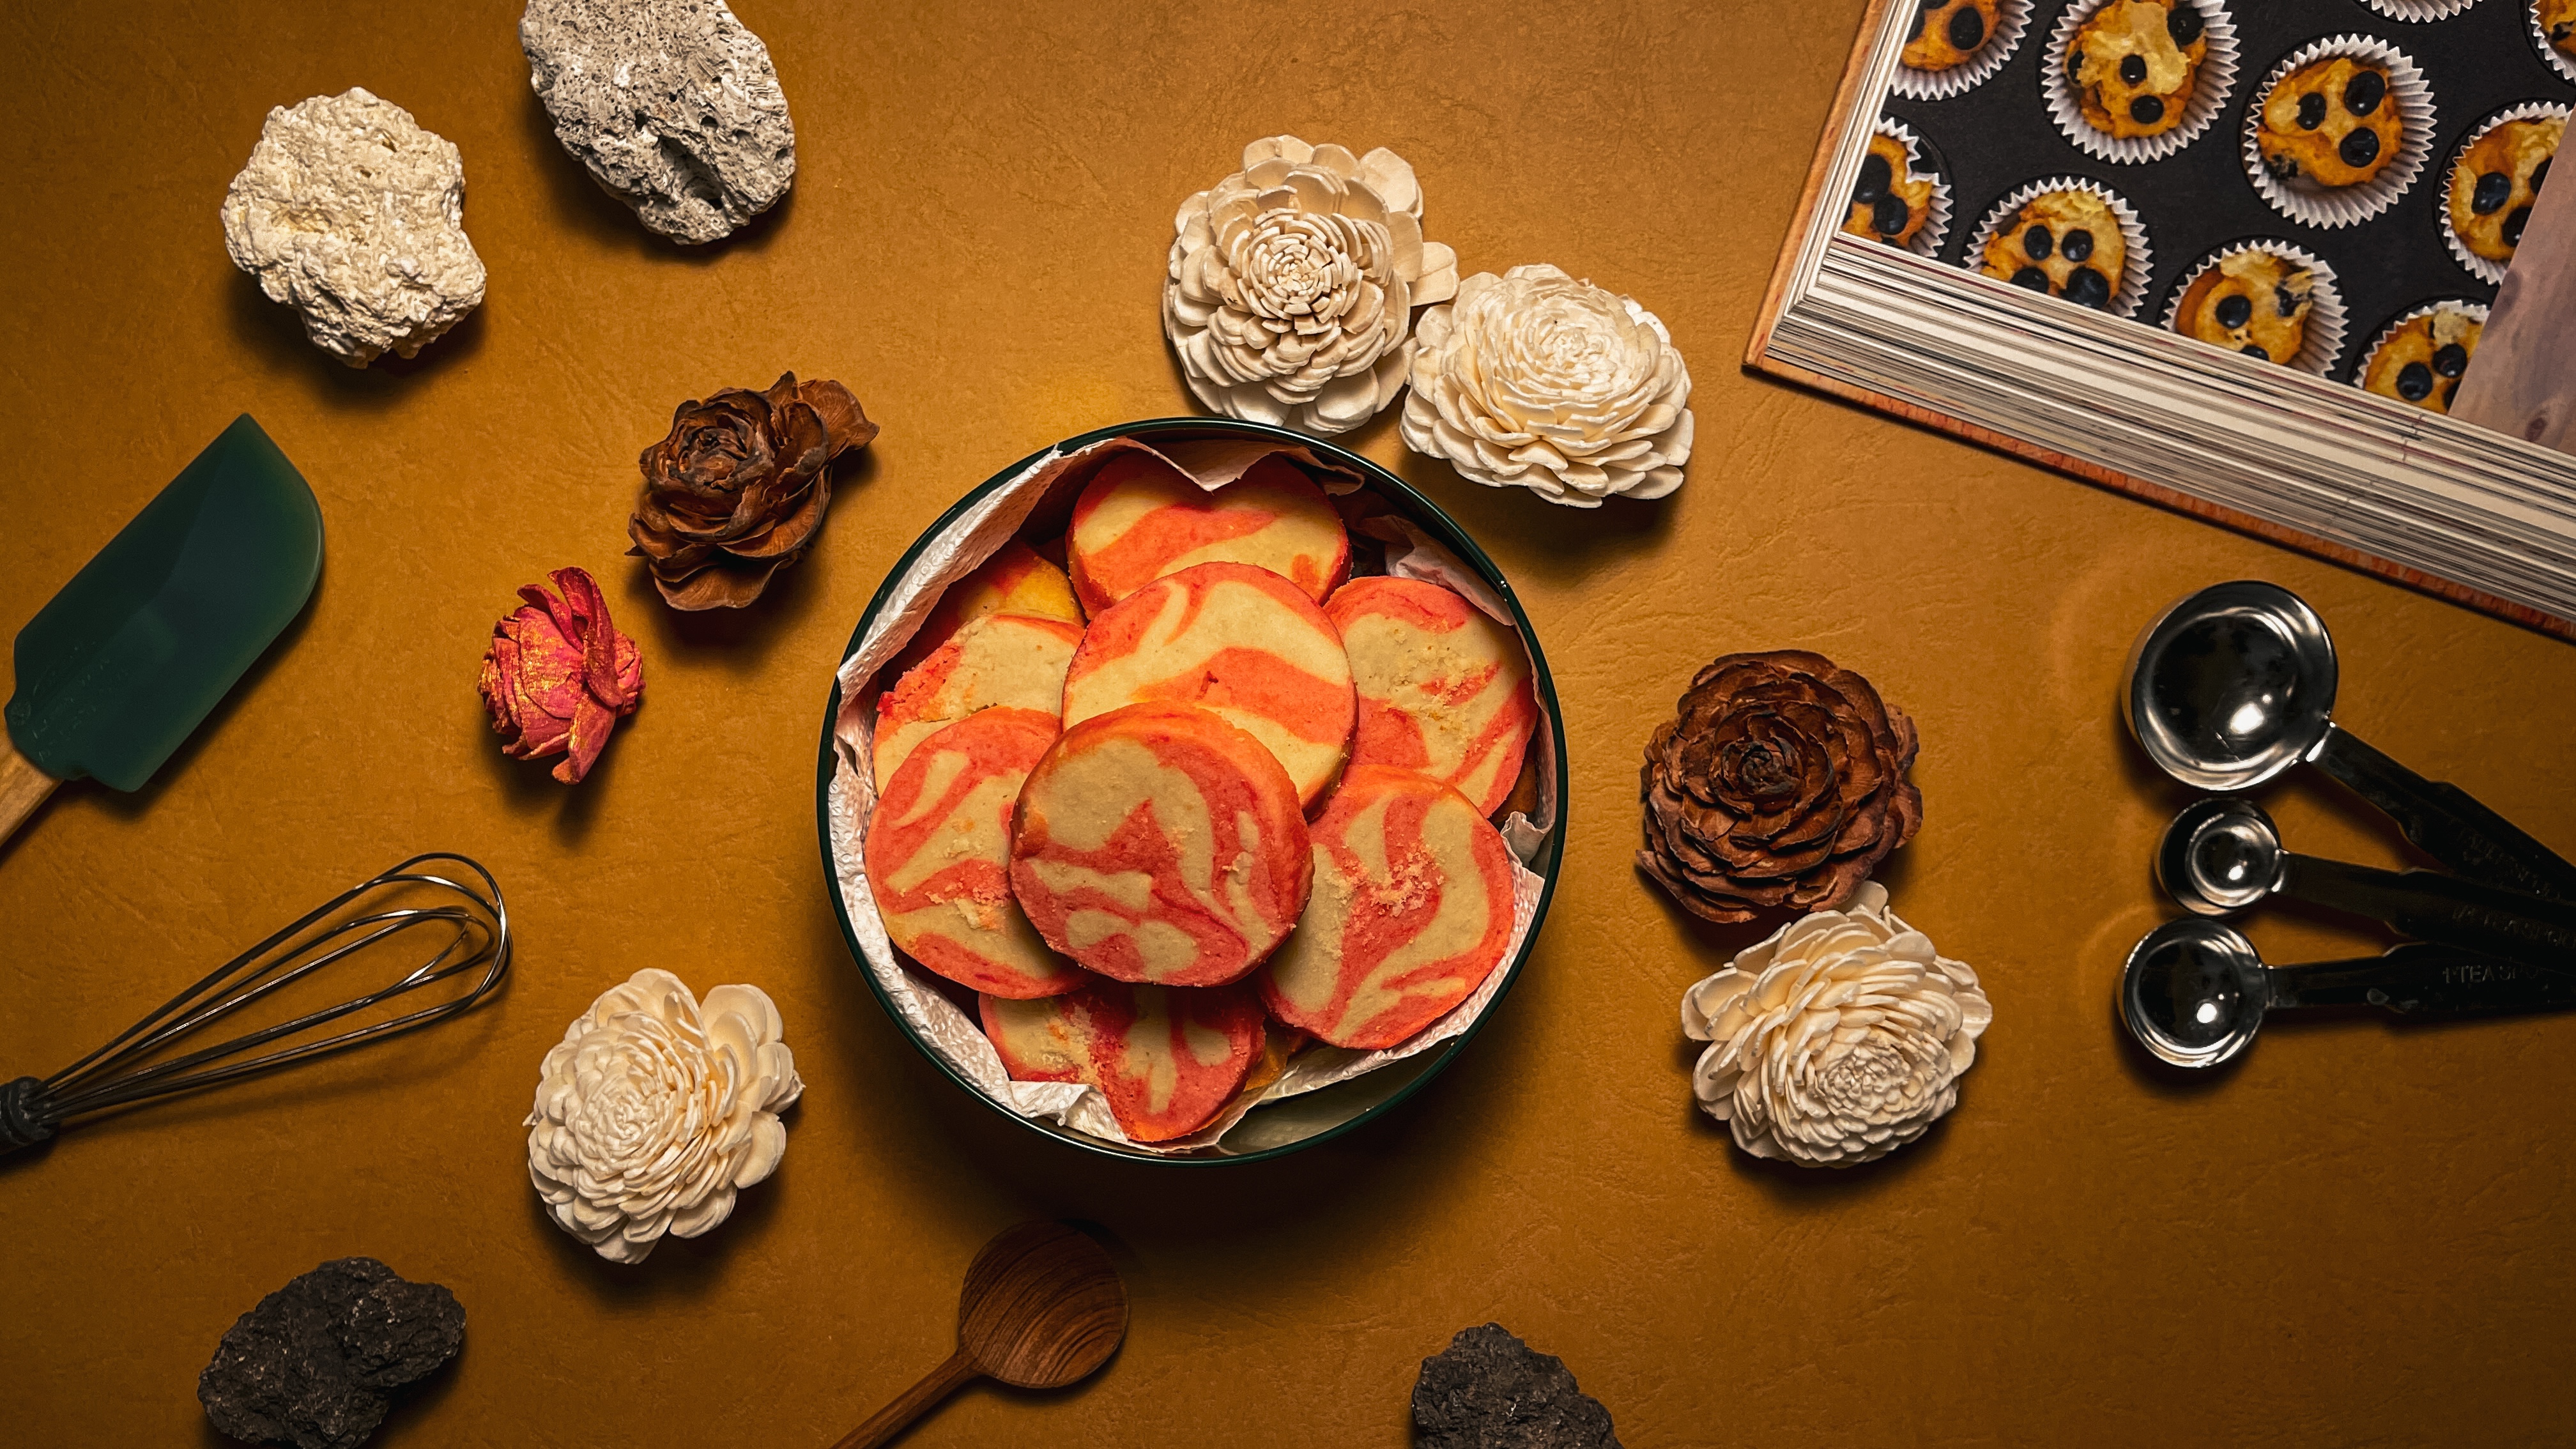
Marble cookies are a stunning blend of two contrasting doughs (two colours or flavours), swirled together to create a mesmerizing marbled effect. These cookies maintain the simplicity of icebox preparation while offering an artistic twist. The marbled pattern is achieved by carefully mixing two doughs together without fully combining them, creating a visually dynamic and delicious result.
What you will need:

| Ingredient | Measure |
| Unsalted Butter (Softended) | 300g |
| Confectioner’s Sugar | 150g |
| All purpose flour | 450g |
| Eggs | 75g |
| Kosher or table salt | 4.8g |
| Vanilla essence (Optional) | 4.8g |
| Cocoa Powder (Optional) | 40g |
| Food colouring (Optional) | As needed |
Time Required
Preparation time: 40 minutes (excluding chilling time)
Chilling time : 2-4 hours
Baking time: 12-14 minutes
Nutrition Profile / 100g
Calories 392 kcal
Protein 3.4 g
Total Fat 0.1 g
Sodium 5 mg
Saturated Fat 0.03 g
Carbohydrates 95 g
Equipments:
- Digital Scale
- Stand mixer with paddle attachment
- Rubber spatula
- Parchment paper
- Rolling pin
- Sharp chef’s knife or pastry cutter
- Ruler (for precise dough dimensions)
- Baking sheet
- Plastic wrap or cling film
Instructions:
Prepare the Dough
- In a stand mixer, cream the softened butter and confectioners’ sugar at medium speed until light and fluffy (2–3 minutes). Scrape down the bowl as needed.
- Gradually add the whisked egg and vanilla extract to the butter mixture. Mix until just combined.
- Sift together the pastry flour and salt. Gradually add to the wet mixture, mixing on low speed until a smooth dough forms. Avoid overmixing.


Chilling the Dough
- Divide the dough into two equal portions. Add your choice of food coloring and mix well.
- Tip: You can replace the colour with flavour such as vanilla and chocolate dough for a different version.
- Roll each dough into sheets approximately 6 mm (¼ inch) thick.
- Wrap in plastic wrap and refrigerate for 1–2 hours until firm but pliable.

Create the Marble Effect
- Divide each dough into roughly equal portions. Work with small batches for better control.
- Break the dough into small chunks and place alternating chunks of dough next to each other.
- Gently press the dough chunks together, folding and twisting them 2–3 times to create marbled streaks.
- Do not overmix, as this will blend the colors and lose the marble effect.
- Shape the marbled dough into a log (approximately 5 cm in diameter). Wrap the log tightly in plastic wrap and chill for at least 1–2 hours.

Slice and Bake
- Preheat the oven to 190°C (375°F).
- Remove the chilled dough log and slice into rounds approximately 6 mm (¼ inch) thick using a sharp knife.
- Arrange cookies on ungreased baking sheets, leaving 2 cm (¾ inch) of space between each.
- Bake for 10–12 minutes, or until the edges are just beginning to turn golden.
- Cool on the baking sheet for 2 minutes, then transfer to a wire rack to cool completely firm.
- If you prefer crispier version, pop them back in to the oven for 10 more minutes at 160°C

Serving Suggestions
Pair marble cookies with coffee or tea to complement their elegant appearance.Dust with powdered sugar or drizzle melted white chocolate for a decorative finish.Wrap in decorative boxes for gifting during holidays or special occasions.
Variations
- Triple Marble: Add a third dough flavor or color, such as pistachio (using a few drops of green food coloring and almond extract).
- Holiday Marble: Use red food coloring in the vanilla dough for a festive red-and-chocolate swirl.
- Zebra Marble: Increase the cocoa in the chocolate dough for a bolder contrast.
Further Application
- Marbled Tart Crusts: Use the marbled dough technique to create stunning tart crusts for pies and pastries.

My Tips:
- Adjust the marble effect by varying the degree of twisting. For a more dramatic pattern, twist slightly more.
- Keep dough chilled to maintain clean lines and prevent colors from blending.
- Use a very sharp knife to prevent smushing or dragging when slicing the dough.
- Store dough logs in the freezer for up to 1 month; slice and bake when needed.
- Add a pinch of instant espresso powder to the chocolate (if using) dough for a mocha twist.
Troubleshooting Guide:
| Issue | Possible Reason | How to Fix it |
|---|---|---|
| Colors blending too much | Overmixed during marbling | Mix minimally, folding only 2–3 times. |
| Uneven marbling | Dough too warm or too much egg wash | Alternate smaller pieces of dough evenly. |
| Crumbly dough during rolling | Insufficient mixing or dough too cold | Allow dough to warm slightly before rolling. |
| Cookies spreading during baking | Over-creamed butter or under-chilled dough | Cream butter/sugar just until combined; chill dough well. |
| Cracked cookies during slicing | Dough too cold | Let dough sit for 5 minutes before slicing. |
Don’t forget to share your results and tag @bake.hows on instagram
