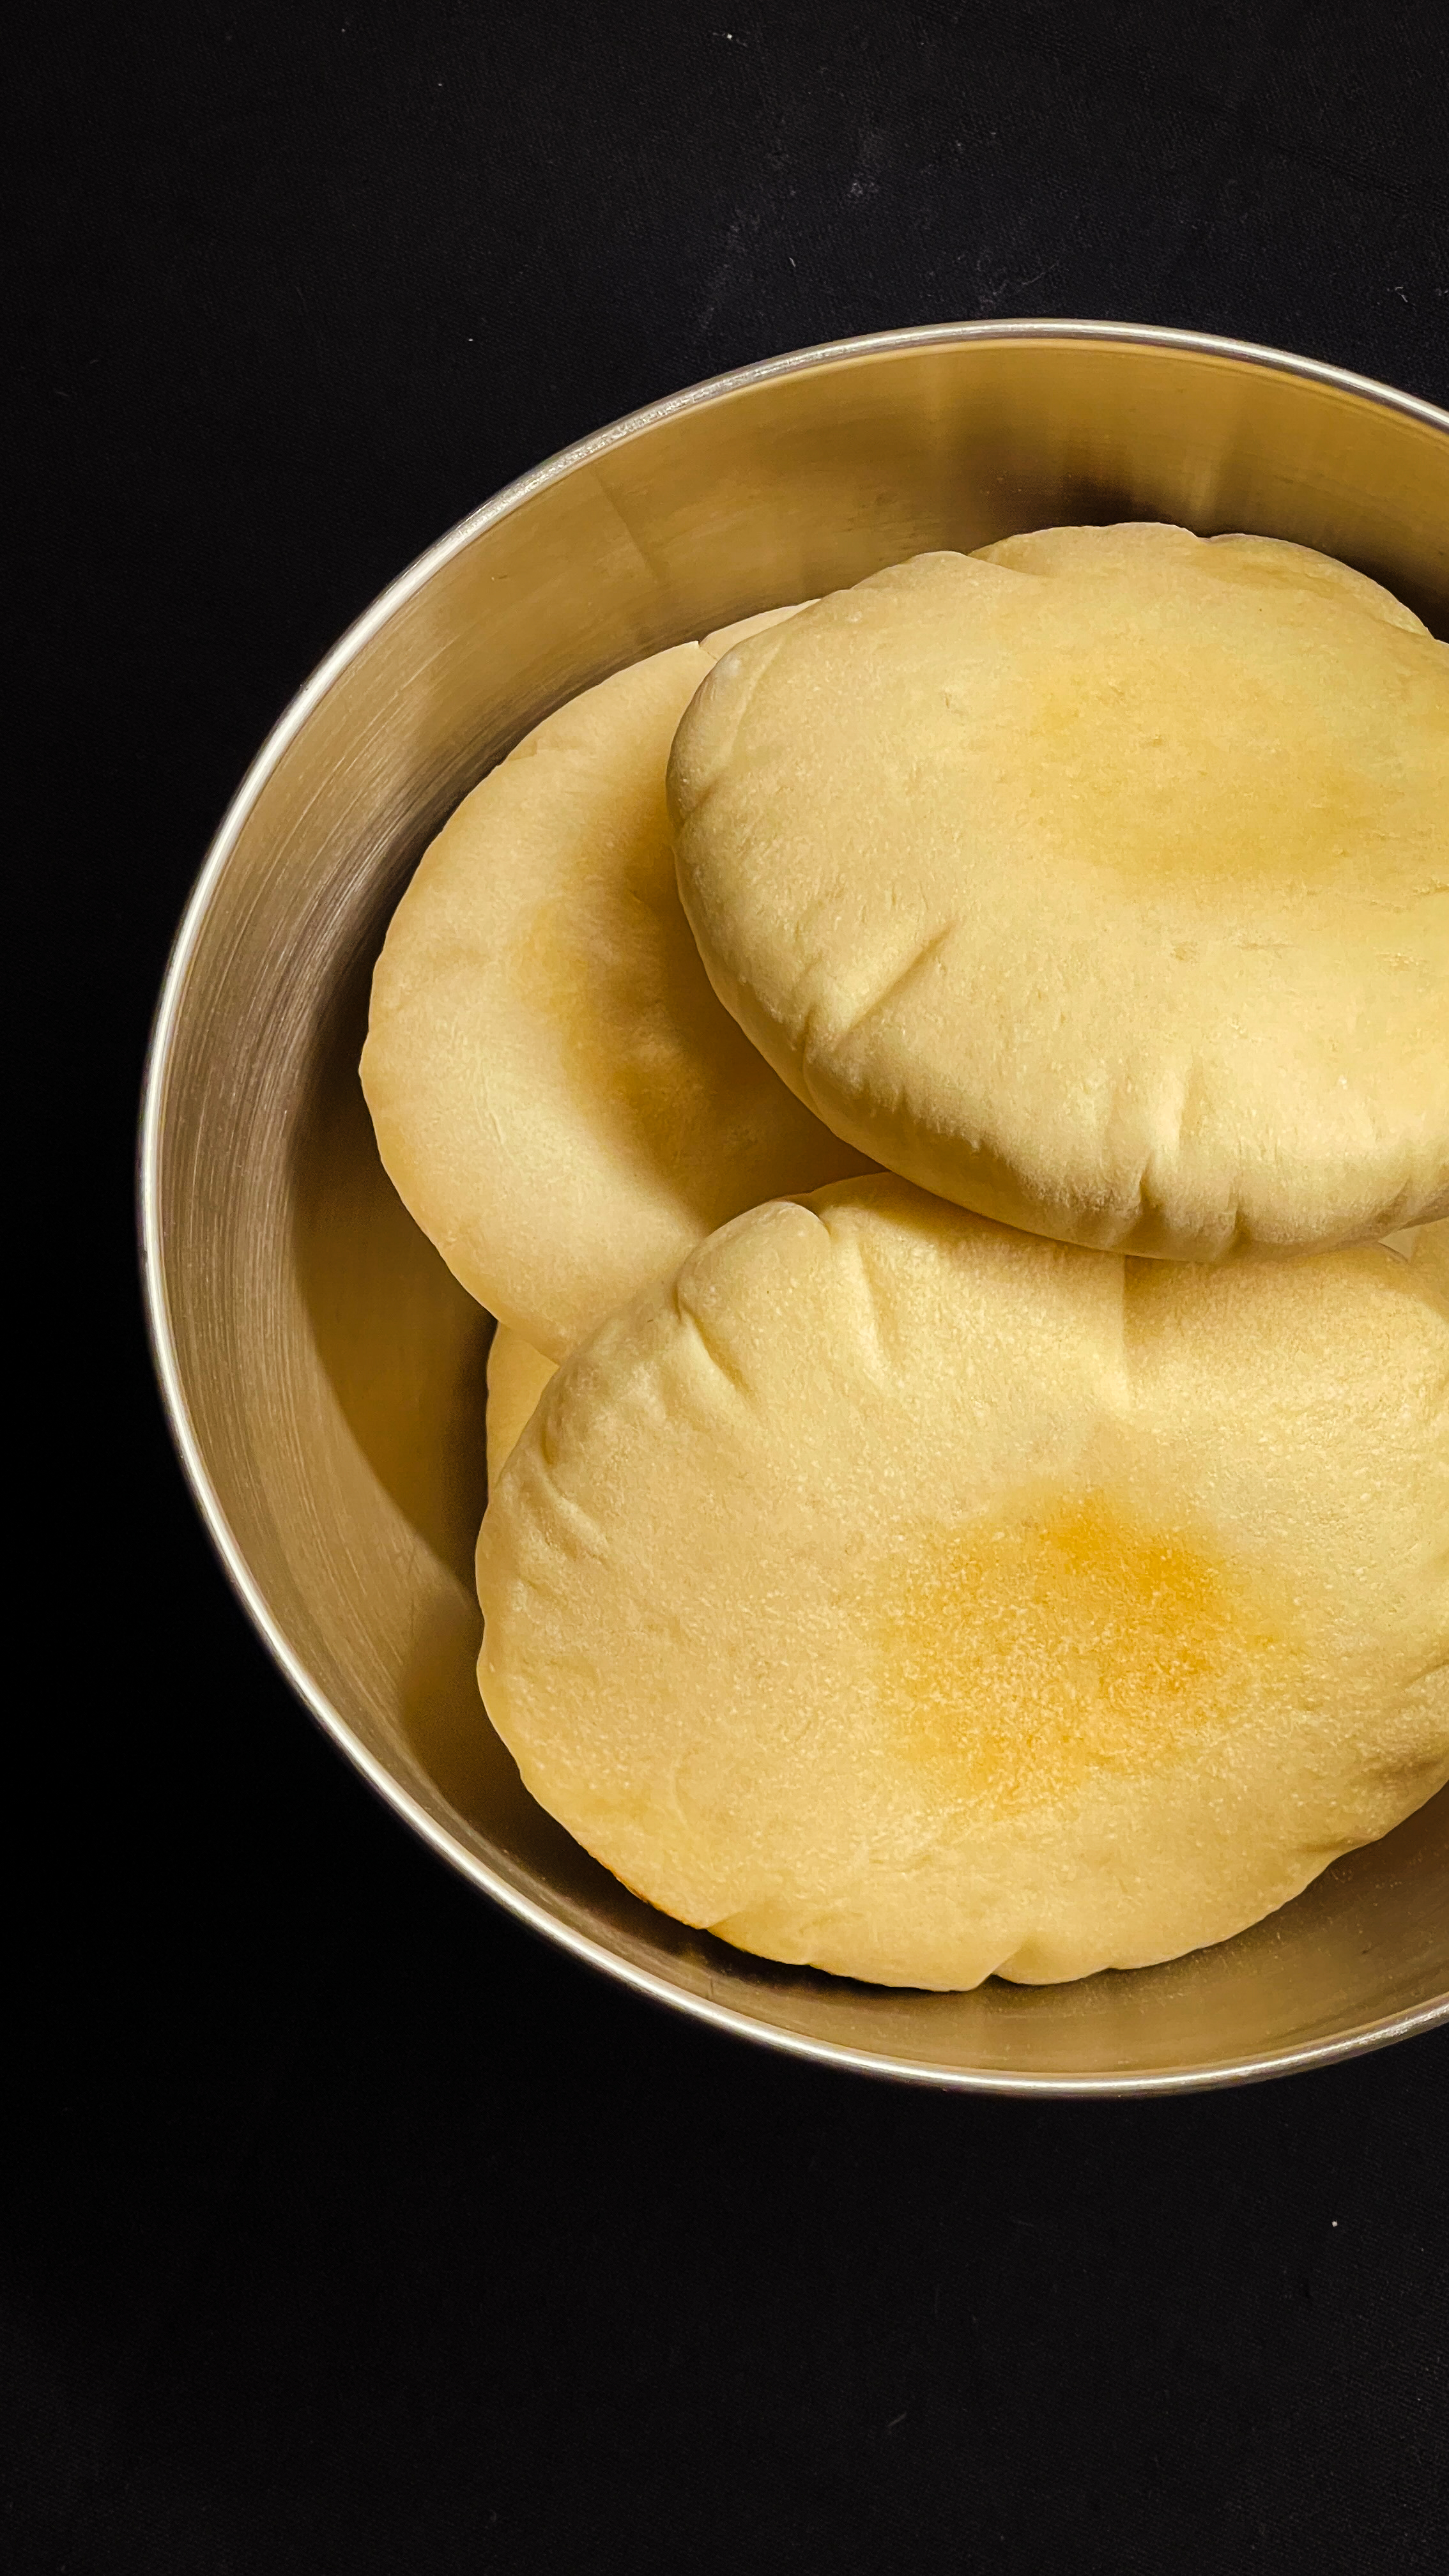
Pita bread, a round, pocket-style flatbread, traces its origins to the Middle East, with evidence of similar breads baked over 4,000 years ago. Its unique characteristic—an airy pocket that opens when baked—is the result of carefully managed fermentation, heat, and hydration. Incorporating a sponge pre-ferment deepens flavor and aroma, while autolyse ensures extensibility and a tender crumb. This dual fermentation process produces pita with remarkable depth, chew, and reliable pocket formation.
Pita bread, known across the Middle East by various names such as khubz, aish baladi, or simply “Arab bread,” is one of the oldest forms of bread still widely consumed today. Archaeological evidence suggests that flatbreads resembling pita were baked over hot stones in the Fertile Crescent as early as 2500 BCE.

Today, pita has traveled far beyond its birthplace, becoming a global staple. From Greek gyros to Israeli sabich and Western “pita pockets,” its adaptability continues to shape food traditions worldwide, while in the Middle East, it remains a cherished symbol of daily nourishment, community, and heritage.
What you will need:

| Ingredient | Measure |
| Bread Flour | 500g |
| Water | 300g |
| Yeast | 10g |
| Sugar (Caster) | 15g |
| Salt | 10g |
Equipments:
- Digital Scale
- Flour sifter
- Large mixing bowls (glass or stainless steel)
- Dough scraper
- Stand mixer with dough hook (optional but efficient)
- Proofing container with lid (or covered bowl)
- Rolling pin
- Cast iron skillet, baking stone, or baking steel (preheated)
- Oven thermometer (to ensure correct high heat)
- Clean kitchen towels or plastic wrap
Time:
Autolyse and Sponge – 30 minutes
Final Dough Mixing & Kneading: – 15 minutes
Bulk Fermentation – 1 hour
Shaping & Resting – 15 minutes (before rolling) + 30 mins (after rolling)
Baking time – 7 minutes or more
Instructions:
Sponge and Autolyse:
- In a large bowl, combine part of the flour, sugar, water, and yeast.
- Mix until smooth, cover, and allow to ferment for 30 minutes at room temperature.
- When ready, the sponge should double in volume, become bubbly, and smell pleasantly yeasty.


- In a separate bowl, mix the remaining flour and water (no salt or yeast).
- Stir until just combined (a shaggy mass).
- Cover and let rest for 30 minutes.

Final Dough Mixing:
- Combine the sponge and autolyse dough.
- Add salt and a touch of olive oil (optional for softness).
- Knead by hand (10–12 minutes) or with a stand mixer (6–8 minutes) until smooth and elastic.

Bulk Fermentation:
- Place dough in a lightly oiled container.
- Cover and ferment 1 hour until doubled in size.
Divide & Rest:
- Turn dough onto a floured surface.
- Divide into equal portions of 100 to 120g and shape into tight balls.
- Cover with a damp towel and rest for 15 minutes to relax gluten.

Shaping:
- Using a rolling pin, roll each ball into a flat circle (5–7 mm thick).
- Place shaped dough on a floured cloth, cover, and rest for 10 minutes.

Baking:
- Preheat oven with baking stone/steel or cast iron skillet to 250–280°C.
- Place dough circle on hot surface. Bake 2–3 minutes until it puffs dramatically.
- Flip and bake another 1–2 minutes until lightly golden.

Variations
Whole Wheat Pita: Replace 30–50% of flour with whole wheat flour for nutty flavor.
Herb-Infused Pita: Add fresh thyme, za’atar, or oregano to dough.
Stuffed Pita: Roll thinner, bake halfway, then stuff and finish cooking.

Serving Suggestions
Stuff pockets with falafel, grilled meats, or roasted vegetables.
Use as a base for mini pizzas.
Serve warm with hummus, baba ganoush, or labneh.
Nutrition Profile / 100g
Calories: ~225 kcal
Protein: ~7 g
Fat: ~0.6 g
Carbohydrates: ~48 g
Fiber: ~1.8 g
Sodium: ~470 mg
Note: These values are approximate and can vary based on the specific brands and types of ingredients used, as well as portion sizes.
Tips for Best Results:
- Perfect Pocket Formation: Ensure oven/skillet is fully preheated to maximum heat—this rapid steam expansion is what creates the pocket.
- Adequate resting after shaping prevents tearing.
- Higher hydration encourages puffing but requires skilled handling.
- A baking steel/stone yields superior pocket expansion, while a skillet is excellent for single bakes.
- Extend sponge fermentation in the fridge for deeper flavor complexity.

Troubleshooting Guide:
| Issue | Cause | Solution |
|---|---|---|
| Pitas don’t puff | Oven not hot enough / dough too thick | Ensure preheat to 250–280°C, roll dough to 5–7 mm |
| Tough pita | Overkneading or too much flour | Knead until just elastic, avoid excess flour in shaping |
| Dry/cracked surface | Insufficient covering during proof | Always cover with damp towel or wrap |
| Pale color | Insufficient oven heat | Use a baking stone/steel and allow full preheat |
| Uneven puffing | Uneven rolling thickness | Roll evenly and let dough rest before baking |
Don’t forget to share your results and tag @bake.hows on instagram
